step 5
HomeServicesGallery Nail Art About me Contact
All images provided on this site are created by me, Kay C. 2004-2009
step 1
step 5
step 2
step 3
step 4

Airbrushed Nail Art Design

Airbush Design has been around for quite some time and is very populare all over the world.

My customers can choose from a large variety of Airbrush Stencils and colors to get the design they desire. The Airbrush Stencils come in many shapes and designs, for example, French Design, Holiday, Halloween, Special Occasion, Flowers, Animal Designs, and so much more.

With a mix of different stencil shapes and colors, the most beautiful Designs can be created. I have a few of my Airbrush Design Creations on my Gallery page for everyone to take a look at and be amazed about the possibilities of Nail Art Designs.

For those who are curiouse about how an Airbrushed Design is created, I created some step-by-step picture instructions to give a little inside on how it is done.


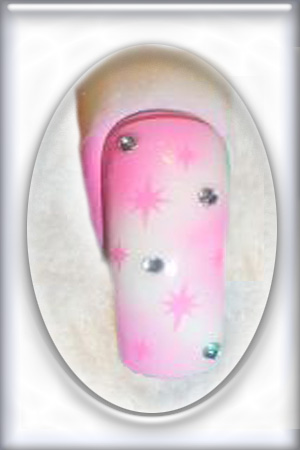
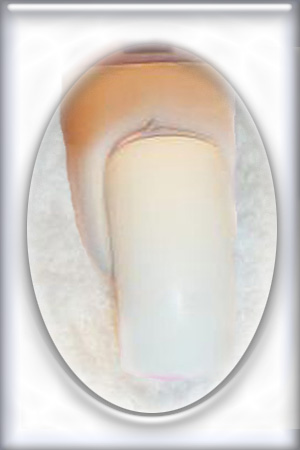
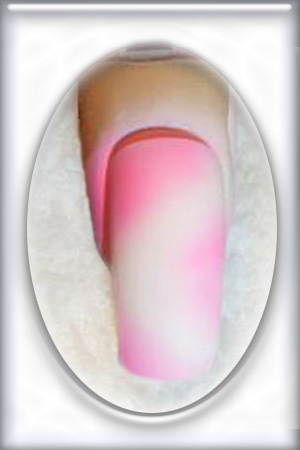
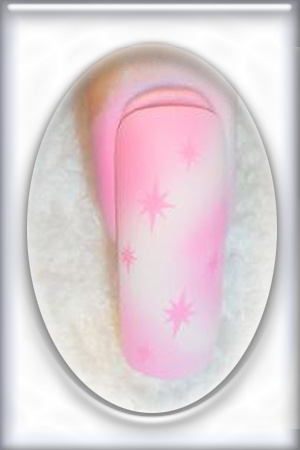
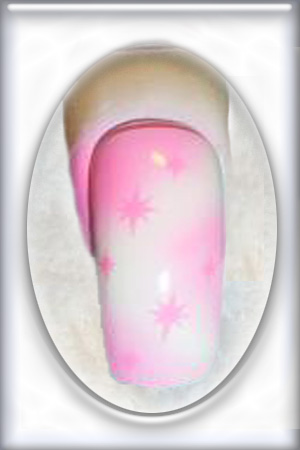
Step-by-Step for the "Pink Stars" Design

1. A layer of white is applied to cover the whole nail.
2. The design pattern is applied with pink color.
3. With the use of the star stencil, the stars are beeing applied, or sparyed on.
3. Once the paint is fully dry and not shiny anymore, a layer of UV-Gel is applied onto the whole nail.
4. Before hardening the UV-Gel layer under the UV-Light, the rhinestones need to be put in the still wet UV-Gel. Once the rhinestones are in place, the UV-Gel needs to be hardened under the UV-Light for 2 minutes. After the 2 minutes, another layer of UV-Gel needs to be applied and hardened for another 2 minutes in the UV-Light. Once fully hardened, the nail surface need to be wiped with a UV-Gel Cleaner to remove the sticky layer.